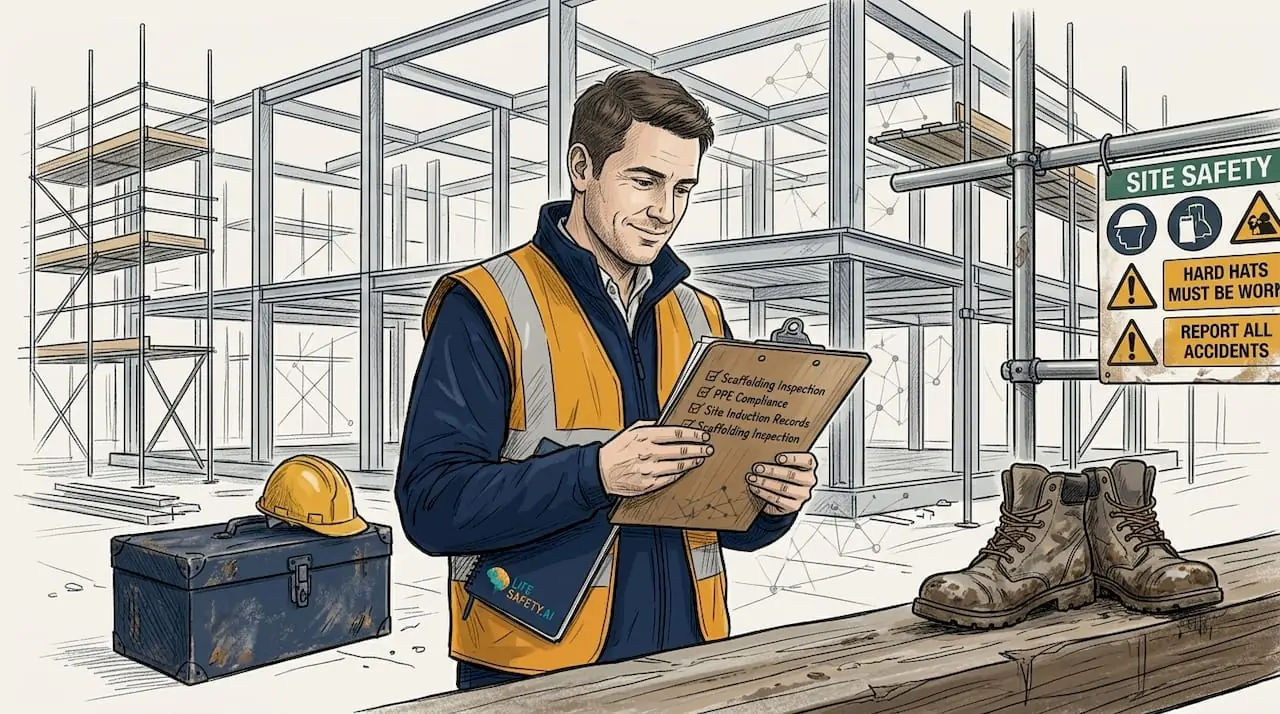
Essential health and safety checklist for UK construction
Essential health and safety checklist for UK construction
TL;DR:
- Effective safety checklists should be tailored to specific site hazards and risks, not copied blindly from generic templates.
- Regular review, workforce consultation, and clear ownership improve checklist accuracy, completion quality, and overall safety culture.
- Digital tools make checklist management more auditable, easier to track, and better aligned with HSE, RIDDOR, CDM 2015, and wider compliance duties.
Even the most experienced health and safety managers face the same challenge: with dozens of regulations, shifting site conditions, and multiple hazard types to track, how do you ensure nothing critical slips through? The HSE’s starter toolkit for construction contractors includes ready-made checklists precisely because structured frameworks reduce the risk of oversight. Whether you’re managing a busy construction site or a fast-paced manufacturing floor, a well-built checklist gives your team a repeatable, auditable process for identifying and controlling risk. This article walks you through exactly what to include, how to adapt it to your sector, and how to get the most from your compliance efforts.
Table of Contents
- Key criteria for an effective health and safety checklist
- Construction site safety checklist: What to include
- Manufacturing health and safety checklist essentials
- Comparing and adapting checklists for your site
- Why a checklist alone isn’t enough: Hard-won lessons from UK safety
- Take your safety checklists further with smart digital tools
- Frequently asked questions
Key Takeaways
| Point | Details |
|---|---|
| Prioritise high-risk areas | Focus your checklist on the biggest threats relevant to your sector and site. |
| Checklists must be tailored | Adapting templates to your unique environment ensures better protection and compliance. |
| Audits still matter | Checklists help, but a culture of regular audits and staff involvement is crucial for real safety. |
| Digital tools improve oversight | Software platforms make checklists more actionable and auditable at scale. |
Key criteria for an effective health and safety checklist
Not all checklists are created equal. A generic form copied from the internet might tick a box, but it won’t reliably protect your workforce or satisfy an HSE inspector. Effective checklists are built around the specific hazards your site actually faces.
For construction, that means prioritising falls, plant hazards, and manual handling. For manufacturing, machinery guarding, chemical exposure, and repetitive strain are typically the highest priorities. The starting point is always your site’s own incident data and risk profile, not a template someone else designed for a different environment.
The scale of the problem is significant. Construction fatality rates are five times the national average across all industries, and ill-health costs the UK economy £22.9 billion every year. These figures make a compelling case for getting your checklist right from the outset.
Here’s what every effective checklist should include:
- Hazard-specific items matched to your site’s risk profile
- Regulatory reference points such as CDM 2015, RIDDOR, and PUWER
- Clear ownership so each item has an assigned responsible person
- Sign-off fields to create an auditable trail
- Review triggers linked to incidents, regulatory updates, or site changes
Team input matters enormously here. Workers on the ground often spot hazards that managers miss from the office. Involving them in checklist development improves both accuracy and buy-in. You can find practical construction checklist tips and sector-specific guidance to help structure your approach.
Pro Tip: Run your checklist past a frontline operative before finalising it. If they struggle to understand an item, it needs rewriting. Clarity drives consistent completion.
Remember, checklists complement your broader safety audits process rather than replacing it. A completed checklist is evidence of inspection, not proof that all risks are controlled.
Construction site safety checklist: What to include
With the right criteria in mind, let’s break down the essentials for a high-impact construction checklist. The HSE’s construction leaflets cover everything from scaffold inspections to dust control, and they’re a valuable reference when building your own framework.
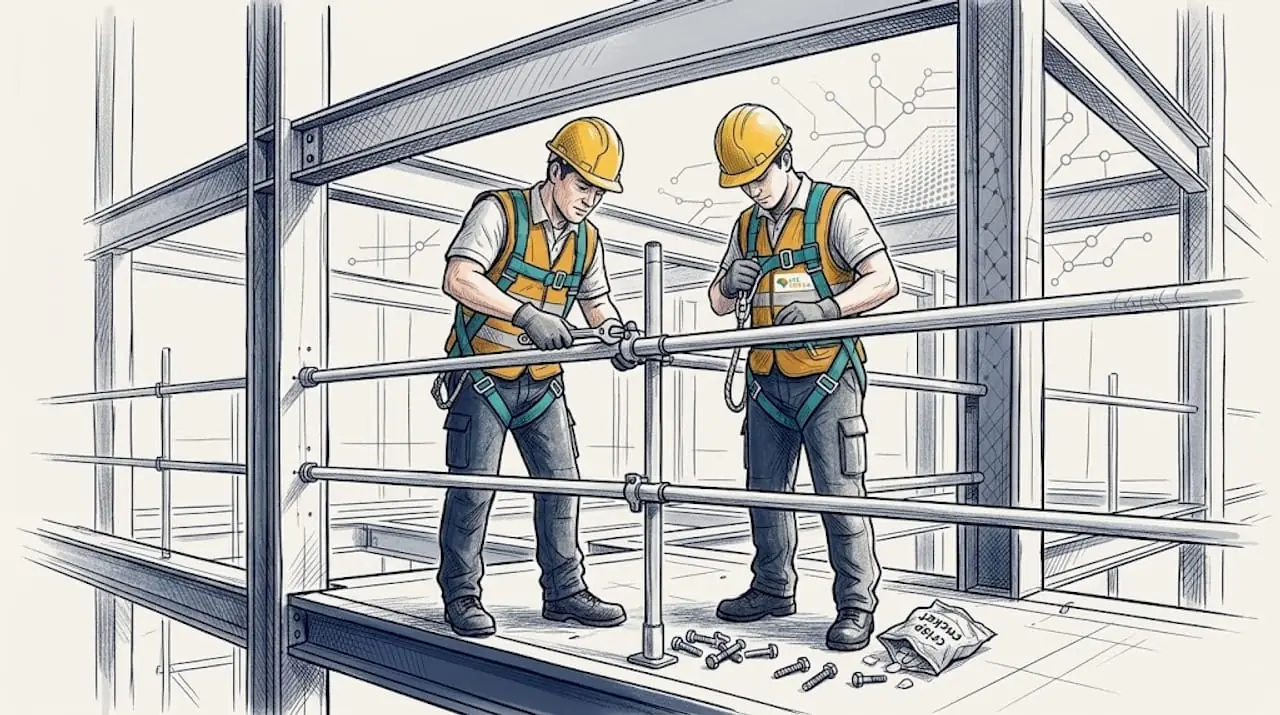
Falls from height cause over half of all construction fatalities in Great Britain. That single statistic should shape the priority order of your checklist. Work at height controls must appear near the top, not buried on page three.
| Checklist category | Key items to verify |
|---|---|
| Access and security | Perimeter fencing, signage, controlled entry points |
| PPE and welfare | Correct PPE issued, changing rooms, washrooms, first aid kit |
| Work at height | Edge protection, scaffold inspections, ladder checks, records |
| Plant and equipment | Pre-use checks, maintenance logs, operator licences |
| Fire safety | Extinguisher locations, evacuation routes, drill records |
| Hazardous substances | Dust suppression, COSHH storage, monitoring records |
Your safety inspections module can help you schedule and record these checks digitally, removing the risk of lost paperwork.
For scaffold-specific controls, detailed scaffold inspection details are worth reviewing to ensure your records meet the requirements set out in the Work at Height Regulations 2005.
“An HSE inspector will look for evidence that you’ve identified the risks and put practical controls in place. A well-completed checklist is one of the strongest signals that you’re managing safety proactively.” Site safety checklist guide
Additional items to include in your construction checklist:
- Manual handling: Assess loads, provide mechanical aids where possible
- Noise and vibration: Monitor exposure levels, issue hearing protection
- Slips, trips, and falls: Housekeeping standards, walkway inspections
- Welfare facilities: Adequate provision relative to workforce size
Pro Tip: Date-stamp every completed checklist and store it centrally. If an incident occurs, you’ll need to demonstrate that checks were carried out. Paper records stored in a site cabin are easily lost or damaged. Your fire safety controls documentation should follow the same principle.
Manufacturing health and safety checklist essentials
Shifting focus from construction, here’s what every manufacturing checklist needs for robust compliance. The regulatory landscape in manufacturing is shaped by PUWER, LOLER, COSHH, and the Manual Handling Operations Regulations, and your checklist must reflect all four.
Manufacturing sector requirements span machinery guarding, lifting equipment certification, hazardous substance management, and manual handling risk assessment. Each area carries its own inspection frequency and documentation standard.
| Regulation | Checklist focus | Frequency |
|---|---|---|
| PUWER | Guarding, emergency stops, operator training records | Monthly minimum |
| LOLER | Lifting equipment certification, operator competence | 6-monthly thorough examination |
| COSHH | Substance storage, labelling, health surveillance | On introduction and annually |
| Manual handling | TILE assessment, mechanical aids, training records | On task change |
| Noise/vibration | Exposure monitoring, PPE provision, audiometry | Annually |
For manual handling specifically, the TILE assessment framework covers Task, Individual, Load, and Environment. It’s the standard approach used by safety managers across UK manufacturing, and it integrates with the MAC (Manual handling Assessment Charts) tool for higher-risk tasks.
Here’s a structured approach for your manufacturing checklist:
- Machinery safety: Inspect guarding, test emergency stops, verify operator training is current
- Lifting equipment: Confirm LOLER examination certificates are in date, check operator competence records
- Hazardous substances: Review COSHH assessments, check storage compliance, confirm health monitoring is scheduled
- Manual handling: Complete TILE and MAC tool screening for all manual tasks, escalate high-risk activities
- Noise and vibration: Record daily exposure levels, confirm PPE is available and correctly fitted
Pro Tip: Use your manual handling checklist to capture TILE assessments digitally. This makes it far easier to identify patterns across shifts and departments, rather than reviewing dozens of paper forms.
Your COSHH assessment steps and risk assessment module can support consistent documentation across all five regulatory areas above.
Comparing and adapting checklists for your site
Knowing the essentials for each sector, let’s compare and then personalise your approach for best results. Construction and manufacturing share several common checklist elements, but the emphasis and regulatory basis differ significantly.
| Checklist element | Construction | Manufacturing |
|---|---|---|
| Work at height | Critical, weekly inspections | Occasional, as required |
| Machinery guarding | Relevant for plant | Core requirement (PUWER) |
| Manual handling | Site-specific tasks | Systematic TILE assessment |
| Hazardous substances | Dust, asbestos, solvents | COSHH-regulated chemicals |
| Lifting equipment | Crane and hoist checks | LOLER thorough examination |
| Welfare facilities | CDM 2015 requirements | Employer duty of care |
| Fire safety | Construction phase plan | Site-specific fire risk assessment |
The overlapping elements, such as manual handling, welfare, and fire safety, can often share a common format. The sector-specific items need tailoring to your actual site conditions.
HSE guidance on risk assessments is clear: assessments must be suitable and sufficient, proportionate to the level of risk, and reviewed whenever processes change or incidents occur. The same principle applies directly to checklists.
Key steps for adapting any checklist to your site:
- Walk the site with your checklist before finalising it. Items that don’t match real conditions will be skipped in practice.
- Consult your workforce. Operatives and technicians often identify hazards that aren’t visible from a management perspective.
- Remove irrelevant items. A bloated checklist leads to checkbox fatigue and reduced quality of completion.
- Set review triggers. After any incident, near miss, or regulatory change, your checklist should be revisited.
Use inspection checklist customisation tools to version-control your templates, and keep a site diary records trail showing when changes were made and why. That level of traceability is especially useful where principal contractors, dutyholders, or accountable persons need to demonstrate oversight under CDM 2015 and the Building Safety Act.
In practice, the best checklist is rarely the longest one. It is the one your team can complete accurately, consistently, and in a way that drives action. If a question does not lead to a meaningful control decision, it may not belong on the form.
Why a checklist alone isn’t enough: Hard-won lessons from UK safety
A checklist is a valuable control, but it is not a safety system on its own. Many organisations have immaculate paperwork and still experience serious incidents because the underlying culture, supervision, or follow-through is weak.
This is one of the most important lessons from UK enforcement history. HSE prosecutions repeatedly show the same pattern: hazards were known, forms existed, but controls were not maintained, supervision was inconsistent, or corrective actions were left open. A checklist can tell you what should be checked. It cannot, by itself, ensure that unsafe conditions are corrected.
That matters in both construction and manufacturing. On a construction site, a scaffold may be inspected and signed off in the morning, then altered unsafely later in the day. In manufacturing, a machine guard may be present during audit but bypassed during production pressure. In both cases, the paperwork alone gives false reassurance unless it is backed by active monitoring and competent supervision.
Common reasons checklists fail in the real world include:
- Tick-box behaviour where forms are completed routinely without genuine inspection
- Poor escalation so defects are recorded but not corrected promptly
- Weak accountability where no named person owns the action
- Outdated templates that no longer reflect current site conditions or legal duties
- Insufficient training meaning staff do not understand what “good” looks like
To avoid these pitfalls, your checklist process should sit inside a wider management framework that includes:
- Regular audits to test whether checklist findings match reality on the ground
- Near-miss reporting so weak signals are captured before harm occurs
- Corrective action tracking with deadlines, owners, and verification of closure
- Supervisor engagement to reinforce standards during the working day
- Refresher training when recurring issues show that understanding is slipping
There is also a legal dimension. If an incident becomes reportable under RIDDOR, investigators will not stop at the existence of a checklist. They will examine whether the inspection was suitable, whether defects were acted on, whether risk assessments were current, and whether management arrangements were effective. In higher-risk projects, especially those involving occupied buildings or complex dutyholder arrangements, the Building Safety Act raises expectations around competence, record-keeping, and accountable decision-making.
Reality check: A completed checklist is only the start of the evidence trail. What matters just as much is what happened next: who reviewed it, what actions were raised, how quickly they were closed, and whether the risk was genuinely reduced.
That is why mature organisations treat checklists as one layer of assurance, not the whole structure. They use them to support conversations, trigger interventions, and create a reliable record, while still relying on leadership, competence, and visible standards to keep people safe.
Take your safety checklists further with smart digital tools
Once your checklist content is right, the next challenge is consistency. Paper forms are familiar, but they create avoidable friction: missing signatures, illegible notes, delayed reporting, duplicate data entry, and poor visibility across multiple sites or departments.
Digital systems solve many of these problems by making inspections easier to complete and much easier to manage. Instead of relying on folders in a site office or spreadsheets on shared drives, you can centralise records, assign actions instantly, and maintain a live audit trail.
For UK dutyholders balancing operational pressure with compliance demands, the benefits are practical rather than theoretical. Smart checklist tools can help you:
- Standardise inspections across projects, shifts, and contractors
- Trigger corrective actions automatically when defects are identified
- Attach photos and evidence to support findings and close-out
- Track trends over time to identify recurring failures or emerging risks
- Demonstrate compliance during HSE visits, client audits, and internal reviews
LifeSafety.ai supports this approach through connected modules for safety inspections, risk assessments, COSHH management, manual handling, and safety audits. Used together, these tools help turn a checklist from a static document into an active control system.
Digital records are also valuable when demonstrating due diligence. If a regulator, client, or principal contractor asks for evidence, you can show:
- when the inspection was completed
- who completed it
- what defects were found
- what actions were assigned
- whether those actions were closed on time
That level of visibility supports stronger governance and better decision-making. It also helps senior leaders move beyond lagging indicators such as injury counts and focus on leading indicators like inspection quality, action closure rates, and recurring hazard themes.
If you want your checklists to do more than satisfy paperwork requirements, build them into a wider digital workflow. The strongest systems connect inspections, actions, audits, and evidence in one place so risks are not just recorded, but reduced.
Frequently asked questions
What should be on a construction health and safety checklist in the UK?
A construction checklist should cover access and security, PPE and welfare, work at height, plant and equipment, fire safety, manual handling, and hazardous substances. It should also reflect duties under CDM 2015, the Work at Height Regulations, COSHH, and any project-specific controls in the construction phase plan.
How often should safety checklists be reviewed?
Checklists should be reviewed whenever there is a significant change in site conditions, process, equipment, workforce, or legal requirements. They should also be revisited after incidents, near misses, enforcement action, or recurring audit findings. As a minimum, formal periodic review is good practice even if no major change has occurred.
Are generic checklist templates enough for HSE compliance?
No. Generic templates can be a useful starting point, but they are rarely sufficient on their own. HSE expects arrangements to be suitable and sufficient for the actual risks present. That means your checklist must be tailored to your site, tasks, equipment, and workforce.
What is the difference between a checklist and a risk assessment?
A risk assessment identifies hazards, evaluates risk, and determines appropriate controls. A checklist is usually the operational tool used to verify that those controls are in place and working. The two should support each other, but they are not interchangeable.
Do manufacturing sites need different checklists from construction sites?
Yes. While there is overlap in areas such as fire safety, welfare, and manual handling, manufacturing checklists need stronger emphasis on PUWER, LOLER, COSHH, machinery guarding, and repetitive task risks. Construction checklists place greater emphasis on work at height, temporary works, site access, and changing environmental conditions.
How do digital checklists help with RIDDOR and audit readiness?
Digital checklists create a clear audit trail showing inspection dates, responsible persons, findings, actions, and closure evidence. If an incident becomes reportable under RIDDOR, those records can help demonstrate what checks were completed, what issues were known, and how the organisation responded.
Final word
A strong health and safety checklist is not about creating more paperwork. It is about making sure the right things are checked, by the right people, at the right time, with clear follow-up when standards slip. In UK construction and manufacturing, that discipline is essential for protecting workers and demonstrating compliance.
If you build your checklist around real hazards, align it with legal duties, involve your workforce, and support it with digital oversight, you will have a far more effective system than any off-the-shelf template can provide.
Related Articles

Workplace safety software for construction teams
Discover top-rated workplace safety software for construction. Improve incident tracking, compliance, and safety analytics with Lifesafety!

LifeguardAI.co.uk alternatives for UK safety managers: 2026
Discover top lifeguardai.co.uk alternatives for UK safety managers. Explore Lifesafety and other innovative solutions to enhance workplace safety.

Site audit recommendations: your 2026 action plan
Unlock the power of effective site audit recommendations. Follow our 2026 action plan to boost indexing, enhance content quality, and improve site speed.